AZ & UT Road Trip🌵
AZ & UT Road Trip🌵
How to spend 10 days in the wild, wild west.
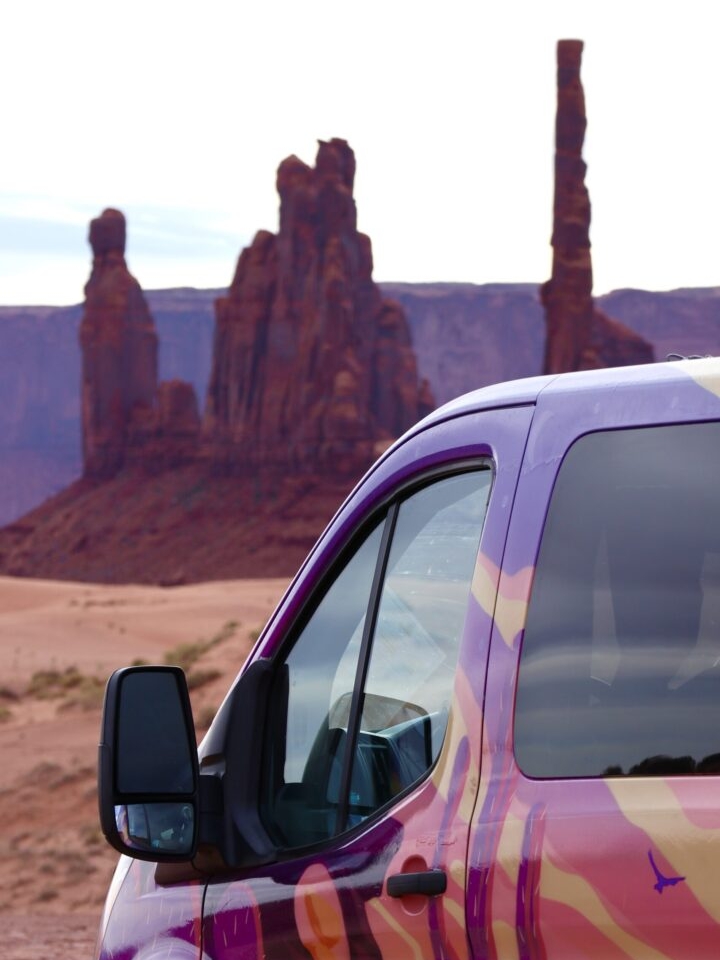

I just got back from my first trip in over a freakin’ year (thanks COVID). It was soooo needed, soooo cool, and soooo fun to explore again. Tbh, I wasn’t too particular on where we went because I was just happy to get on a plane and go absolutely anywhere. A change of scenery was all I was seeking. But we have been eyeing up Arizona & Utah for a while now so I’m stoked that we were able to do it this time around!
I want to preface this by saying I think I have multiple personalities… well, I know I do. People always say to me, “I just don’t picture you traveling around in a camper van. It doesn’t really seem like your vibe.” I can kind of understand why people might think that based on what they see on social media, especially recently due to the travel restrictions. One of my personalities is a city gal who loves all things fashion, beauty, aesthetic, runway shows, shoes, and just being all around fabulous. Meanwhile, my other personality is my traveller side. This is the girl that will do just about anything to explore and see the world, whether that means backpacking or living in a camper van for the duration of my trip. Do I love a stay at the Four Seasons? Absolutely. But that doesn’t mean I won’t “rough” it in order to explore. I never feel more free than when I’m traveling, it truly is my happy place.
I have already gotten quite a few messages about my trip and to share my itinerary/packing list, so that is what I’m going to do! But before I do that, I need to shout out to my friend, Jen, because she so kindly shared her itinerary with me beforehand and we used it as our base in planning our schedule. Thanks Jenny!! Love you!
Okay, let’s get into it. I will break it out day-by-day:
DAY 1 – Arrival Day
- YYZ > PHX
- Pick-up camper van
- Grocery shopping
- Phoenix > Sedona
- Bell Rock
- Cathedral Rock Trail Head
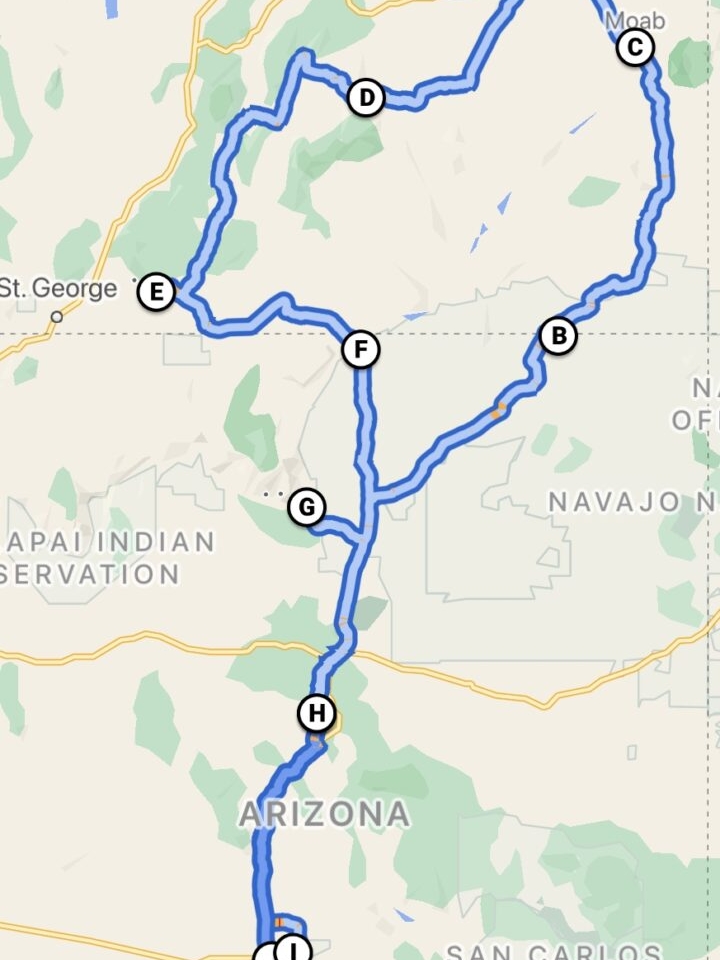
We decided to do a round-trip flight from Toronto to Phoenix, which means we started and ended our Southwest road trip in Phoenix. The reason we did it this way is because our route went in the shape of a circle and there were sites/parks we wanted to see on either side. See the map below:
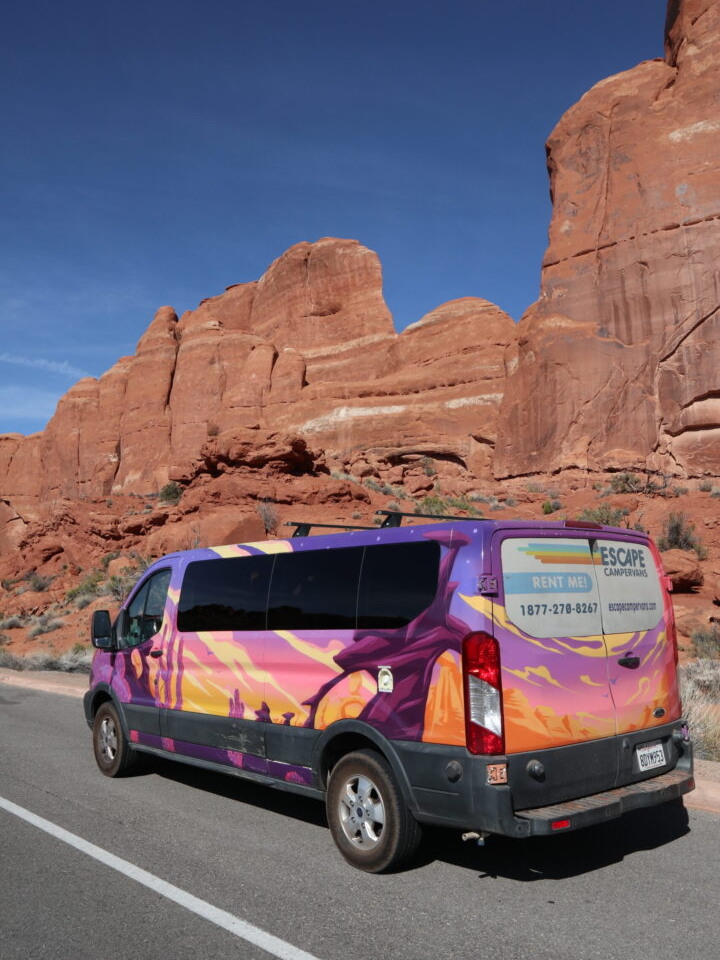
We flew into Phoenix in the morning and got an Uber from the airport directly to our camper van rental office. The company we used is Escape Campervans, who we have used two other times before in California and Alberta. They are fantastic and make you feel as at home as you can while on the road. Their fleet includes a pop-up table with bench seating, a converted bed, a fridge, and a kitchen sink at the back.
After picking up our van, we went to Wal-Mart and picked up some groceries to get us started. Then, we were on our way! We drove from Phoenix to Sedona which is roughly a two-hour drive. Sedona is the first place you will see rocks and mountains on the trip. IT’S SO COOL. As soon as we got to Sedona, I turned to my bf and said “we will be coming back here one day.” There really is so much to see and do in Sedona from cool spots to eat, cute little shops, and amazing hikes.
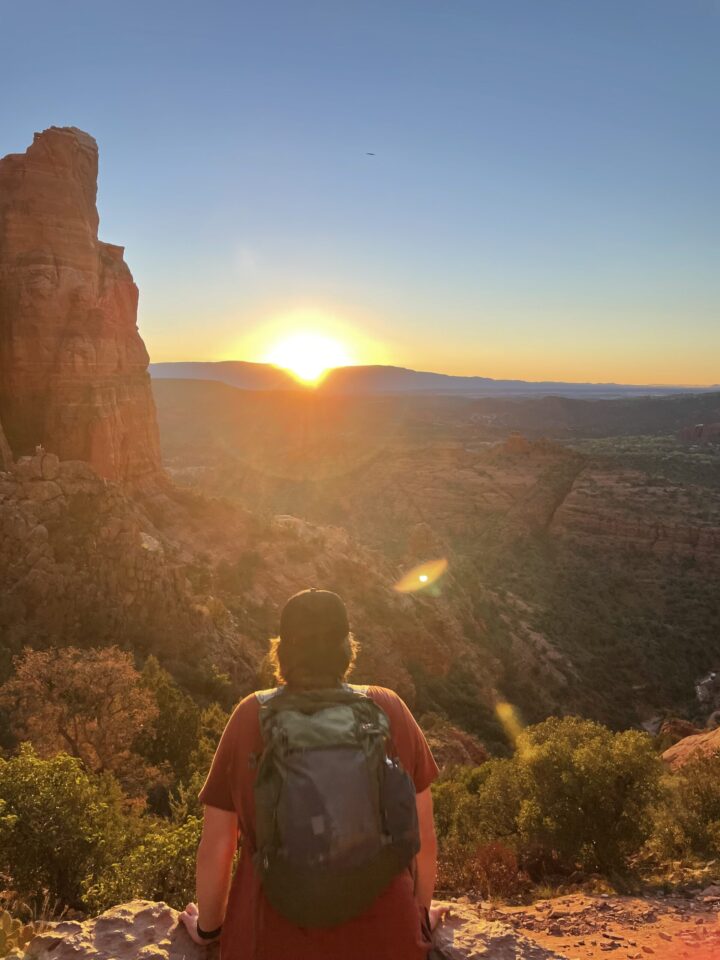
Bell Rock is pretty iconic to Sedona and is a really cool one to get a photo of. We did that, and then did our first hike of the trip – Cathedral Rock Trailhead. We did it at sunset and it did NOT disappoint. The trail was a little bit challenging but if you have a good pair of hiking boots you’re totally fine (I did not).
Boondocking is a big thing in the Southwest. Trust me, I was sketched out at first too. But after seeing well over 100 other campers doing it, I felt okay to do the same. So we pulled into our spot and camped for the first night. Bonus… it’s free!
DAY 2 – Sedona to Monument Valley
- Devil’s Bridge Hike
- Birthing Cave Hike
- Devils Kitchen & Seven Sacred Pools Hike
- Sedona > Monument Valley
On day two, we woke up bright and early to catch the sunrise at Devil’s Bridge. This hike was about 6km in length and was not overly challenging. The most challenging part is the actual Devil’s Bridge… I say that because I was so scared to do it that I almost chickened out. But I will say after doing it, it’s totally not as bad as it looks (contrary to what the pic looks like). I also highly recommend doing the hike early in the morning like we did because the line to take photos on the bridge becomes INSANE as the morning goes on.
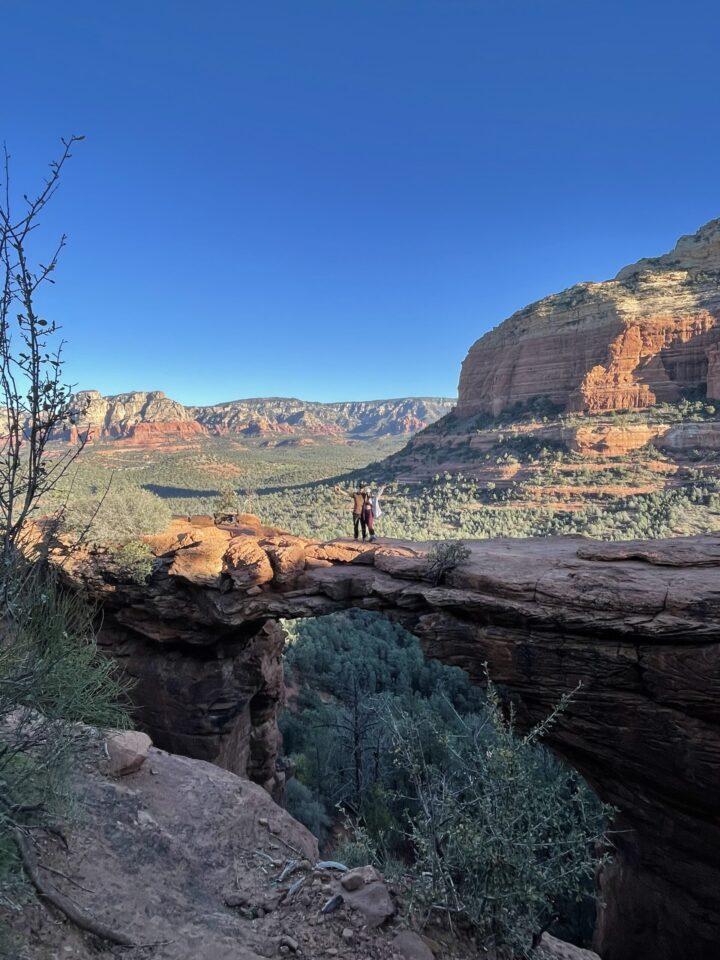
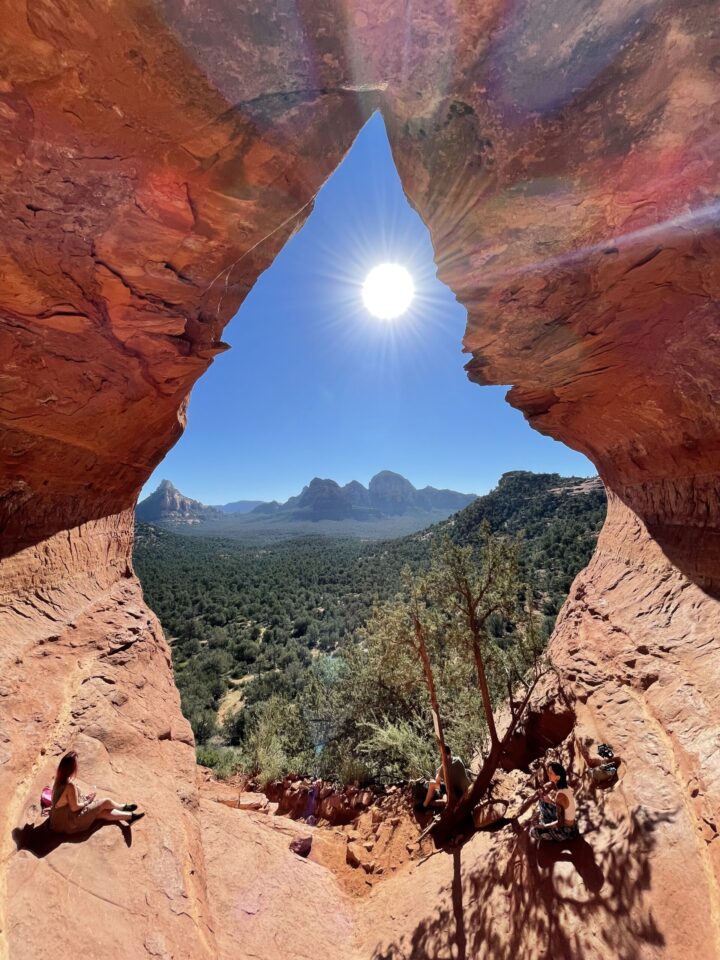
After that, we did another hike to see the Birthing Cave. This hike also was not very challenging and was about 3km in length. This hike was definitely cool to see and easy to get to. Then we did a really short hike to see the Devil’s Kitchen & Seven Sacred Pools. This hike was cool and is great because of how short it is, however I did not find it as exciting as the other hikes we did in Sedona.
We had planned on going into town to eat lunch but decided to eat on the road instead because we had a four hour drive to Monument Valley ahead of us. After a long ass drive, we had finally crossed the state line into Utah, which was super cool!
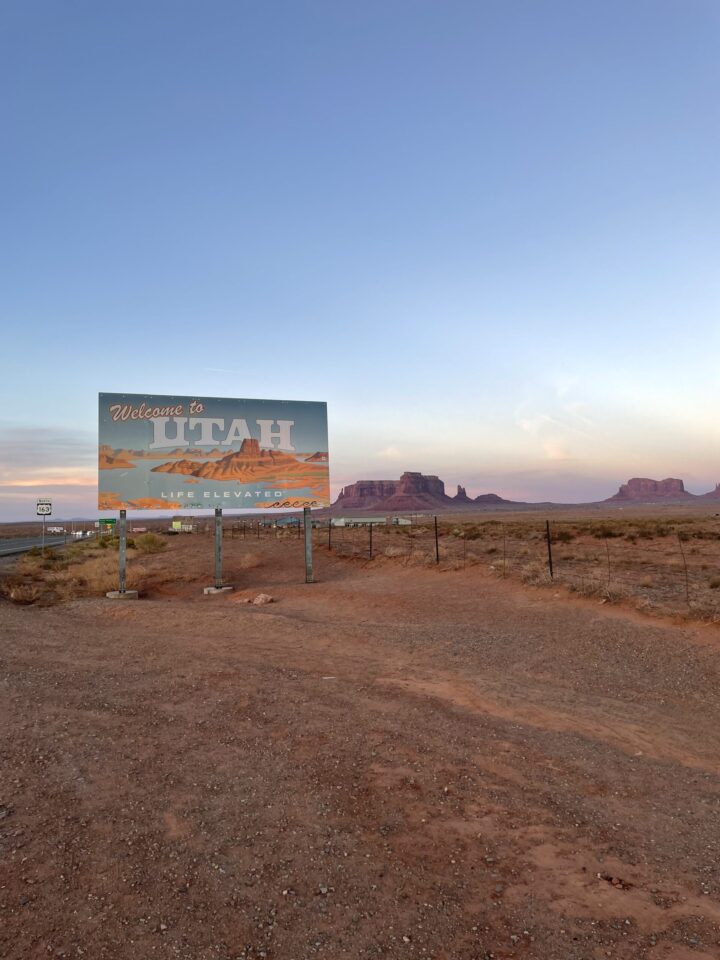
We camped at Monument Valley KOA and it was great – we had power hookups, a huge washroom with showers, and laundry facilities on site (I of course pack too much clothes to ever need to do laundry 🙃). The campsite is super central to a lot of other sites in Monument Valley too.
DAY 3 – Monument Valley > Moab
- Forrest Gump Viewpoint
- Valley Drive (John Ford Point, Three Sisters Mountain)
- Natural Bridges National Monument Drive
- Monument Valley > Moab
- Corona & Bow Tie Arch Hike
Due to our jetlag, we woke up with the sun and started our day. We watched the sunrise at the Forrest Gump Viewpoint and it was awesome. Little bit of a fangirl moment. Tip – if you want the least amount of people there for your pictures, go early. Otherwise you’re battling people and cars to get the perf pic.
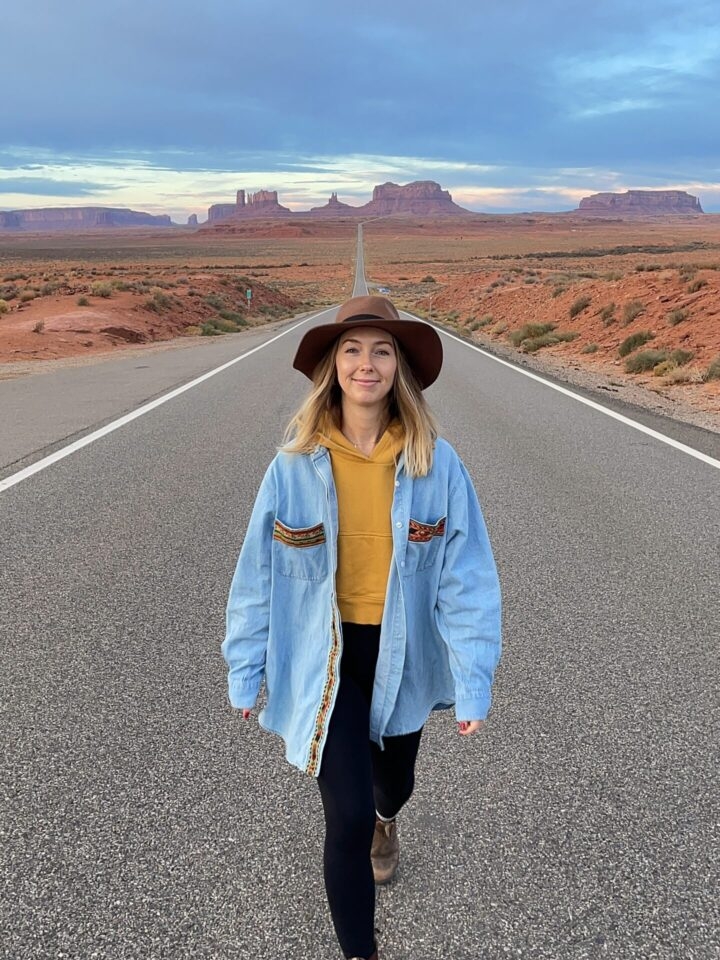
Then, we jumped back in the car and did the Valley Drive which is essentially a scenic loop of the must-see sites in Monument Valley. We got close and personal with John Ford Point and the Three Sisters Mountain. You have to pay for this drive and they give you two hours to drive through the loop – soooo worth it though. Another tip – drive slow. The road is bumpy AF.
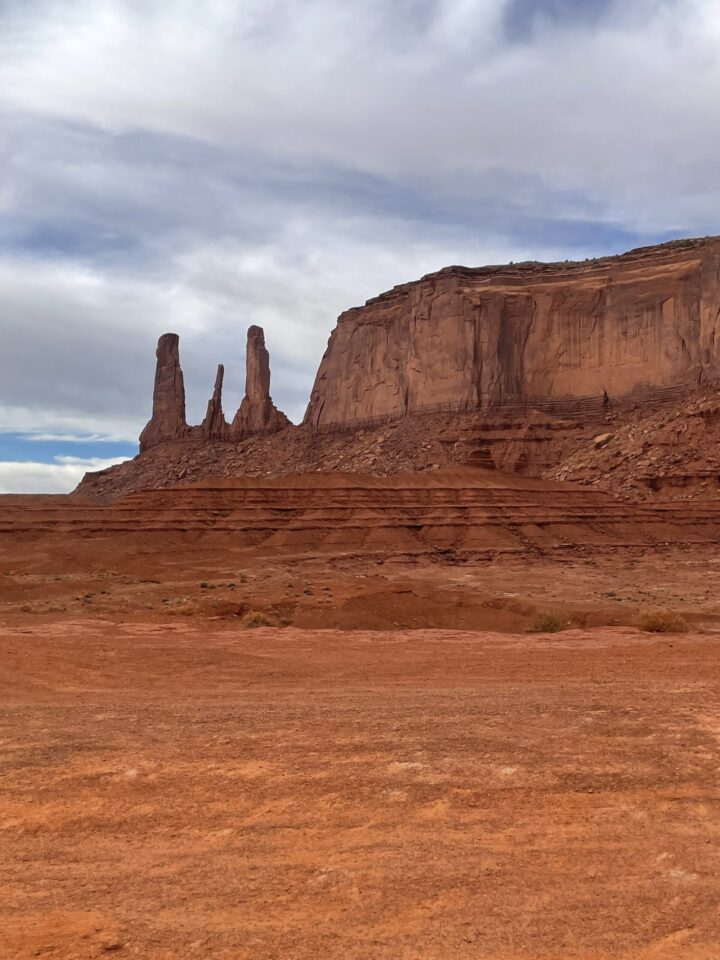
After Monument Valley, we jumped in the car and drove another hour to see the Natural Bridges National Monument. This is also a scenic drive with pull-offs. We saw three naturally-made bridges that were wild. The drive itself took us about one hour total and was very relaxing.
It wasn’t too long after that we were on the road again and on our way to Moab. We still had time to fit in one more hike before sunset, so we went for it! And my god I’m so happy we did. The hike to see the Bow Tie and Corona Arch was insaaaaane. For sure one of the most memorable hikes of the trip. The way the sun set on the red rocks and arches is something I’ll never ever forget.
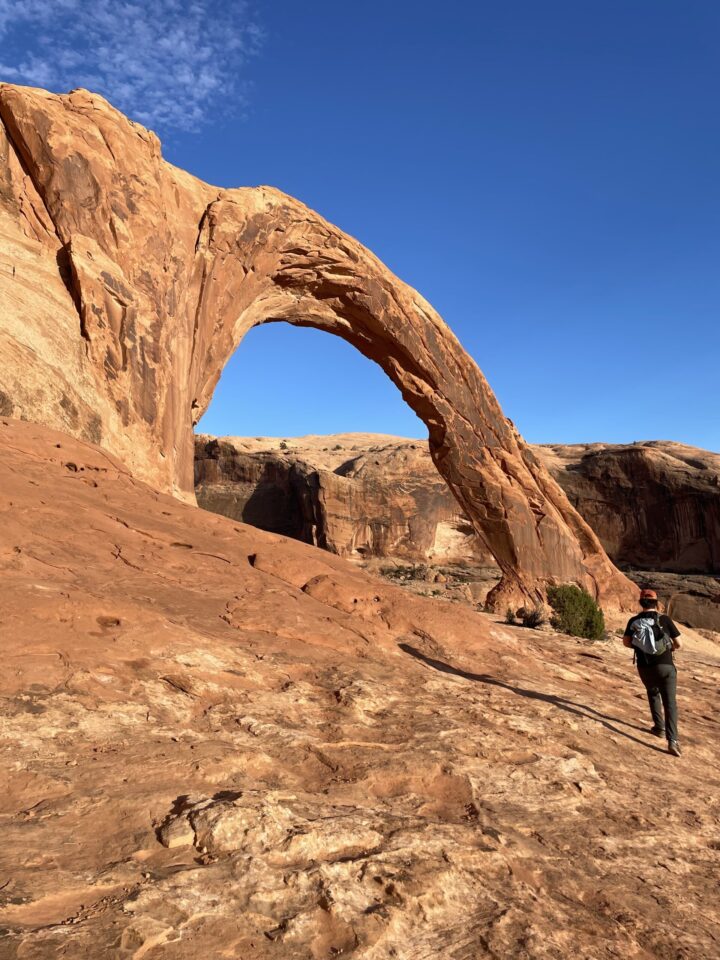
Once the sun set, we made our way to our boondocking location and called it a night.
DAY 4 – Moab > Torrey
- Canyonlands National Park
- Mesa Arch
- Grandview Point Trail
- Green River Overlook
- Shafer Canyon Overlook
- Deadhorse Point State Park
- Deadhorse Point
- Arches National Park
- Delicate Arch Trail
- Balanced Rock Loop Trail
- Devil’s Garden Trail
- Landscape Arch
Day four was JAM PACKED. We explored three different parks – two national parks, and one state park. We started with Canyonlands National Park where we watched the sunrise at Mesa Arch… absolutely stunning! We made our coffees in our Yetis and grabbed a spot to capture the most perfect sunrise. This is a super popular spot to catch the sunrise so get there early. This is not really a hike to the arch, but instead is about a 10 minute walk from the parking lot. Highly recommend!
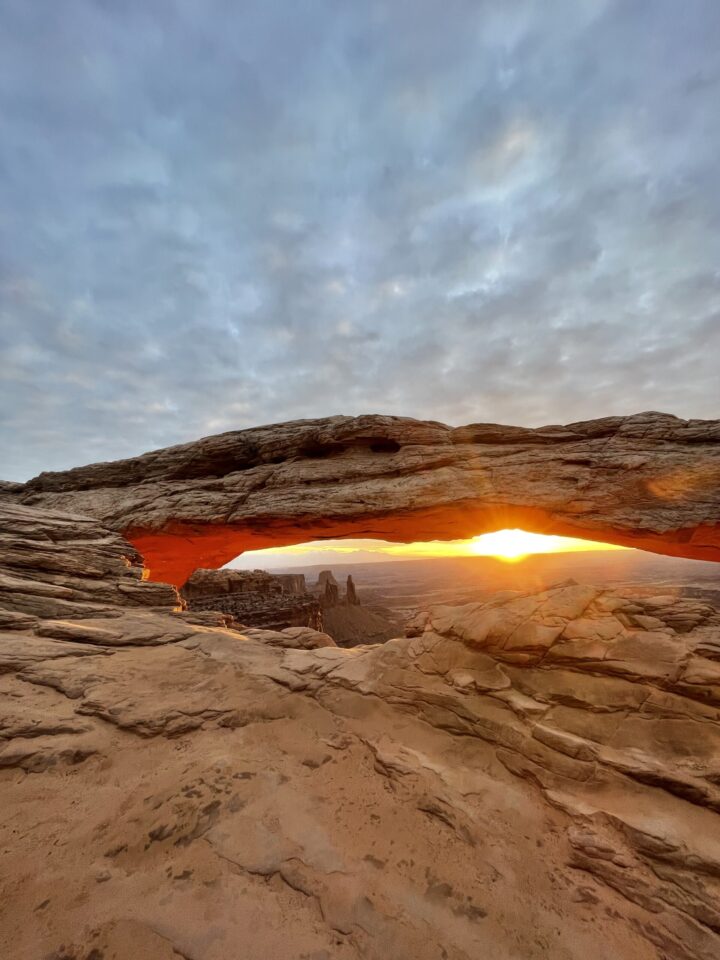
Canyonlands National Park wasn’t a ton of intense hiking. It was more so just short walks and lookouts (low key nice on the legs!). Grandview Point Trail was absolutely breathtaking and an absolute must when going to Canyonlands. Same with the Green River Overlook – it’s hard to wrap your head around how big these natural sites truly are.
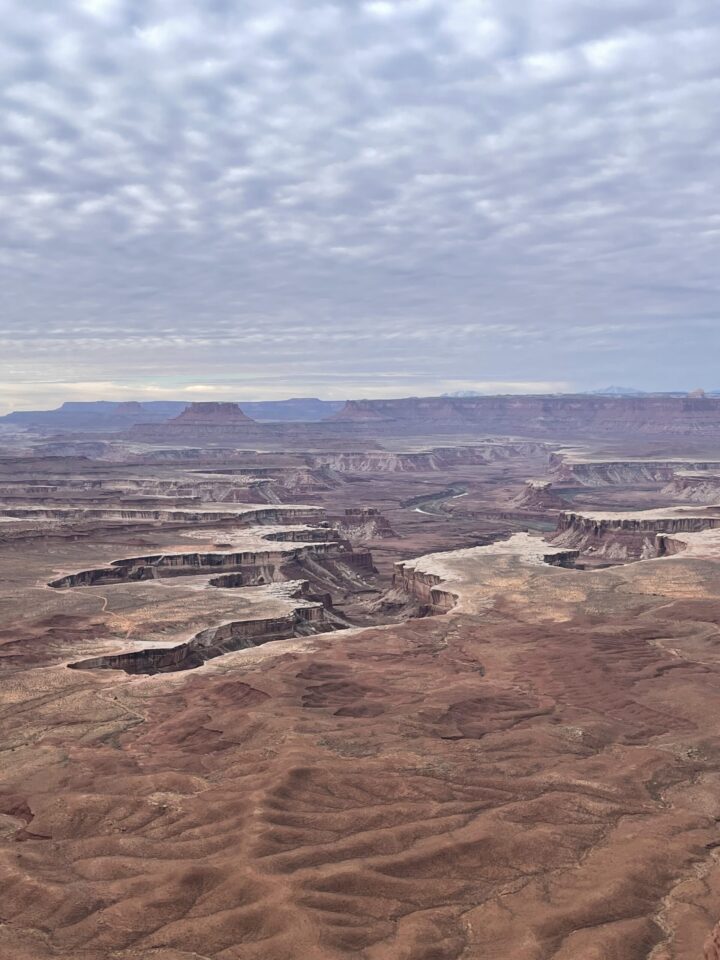
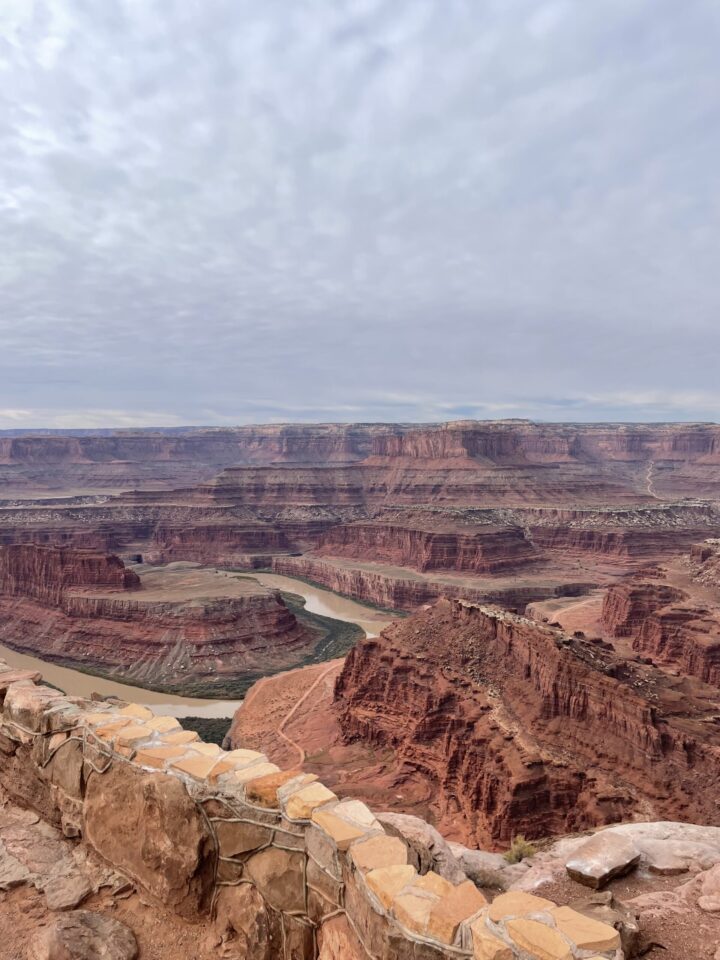
Deadhorse Point State Park was great but it does have a fee of $20 to enter the park. We only went into the park to see the Deadhorse Point Lookout, which was beautiful. However, if you don’t want to spend the extra money to see one lookout, it’s definitely not necessary.
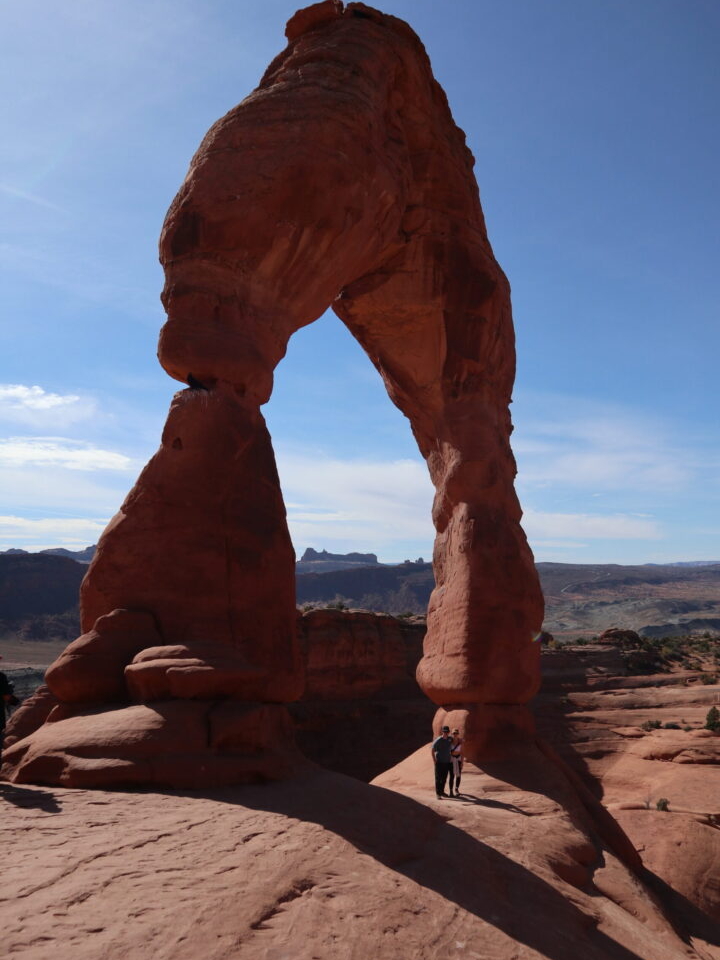
Arches National Park was the third and final park we hit up on this day. Arches was SO COOL. We got there just after lunch and immediately did the Delicate Arch hike. This is the arch that you see everywhere when you Google Arches National Park… and I mean I now know why. Truly unbelievable when you see it in real life. This hike was hot, hot, hot and pretty intense. We also did it in the middle of the day when the sun was its hottest.
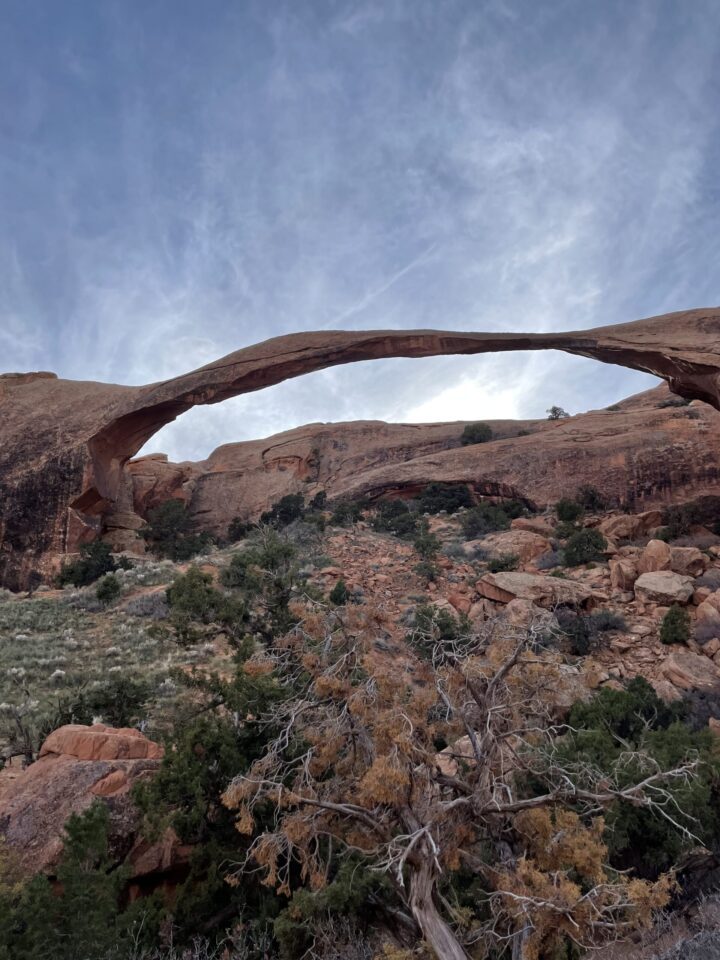
We jumped back in the car and stopped in to see Balanced Rock. You can actually see this formation from the road but if you want a closer look, the trail loop is your best bet. Then, we went to the Devil’s Garden Trail. We didn’t do the full 12km loop due to our timing, but we did see three other arches including Landscape Arch which literally took my breath away.
To finish off that long ass day, we drove 2.5 hours to Torrey, Utah where we stayed in a hotel! Hallelujah!! We stayed at the Capitol Reef Resort in Capitol Reef National Park. This hotel is definitely nothing fancy, but after being in a van for three nights… a warm shower and a king size bed was absolutely amazing. This resort has really cool wagons and tents you can sleep in during the summer months, but they were unfortunately closed while we were there so we just grabbed a standard room.
DAY 5 – Torrey > Zion National Park
- Horseback Riding
- Torrey > Bryce Canyon National Park
- Bryce Canyon National Park > Zion National Park
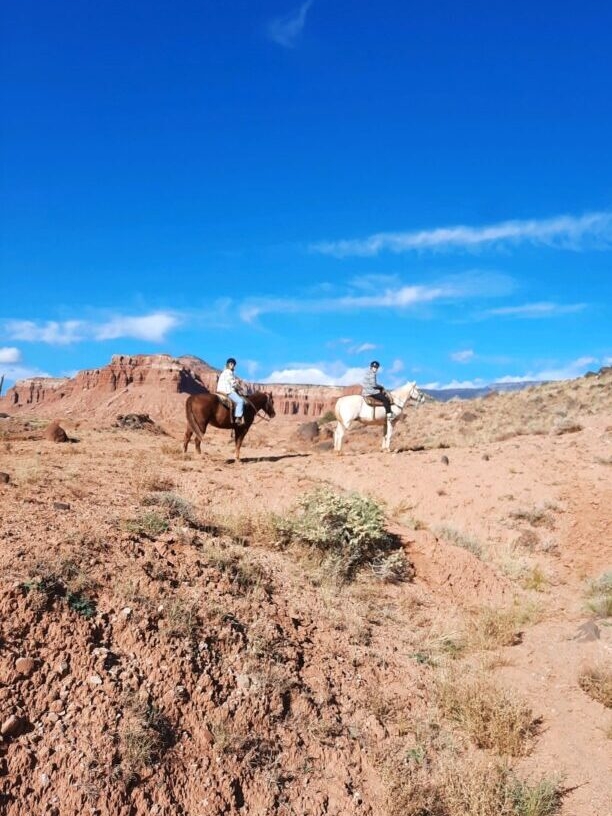
After a glorious sleep in a real bed and having a real shower, we went horseback riding in the desert. The resort we stayed at offers a couple different tours through Wilderness Ridge Adventures. I recommend this tour – it was awesome! My bf had never been horseback riding before and our instructors were so amazing. We went on a 2-hour ride and then we got to learn more about the horses at their stables afterwards. Most of the horses they use are rescue horses too which just warms my heart. 🐴
Then, we were supposed to get in the car and drive two hours to Bryce Canyon National Park. I say “supposed to” because my bf, who I love oh so much, locked our keys in the van. 🙄 So there we were… in the middle of the desert, locked out of the van, in a town with a population of 400 people, and hardly any stores or businesses opening heading into their winter season. We can laugh about it now but I was sooooooo mad. Long story short, we did drive through Bryce Canyon… but that’s about all we did there unfortunately.
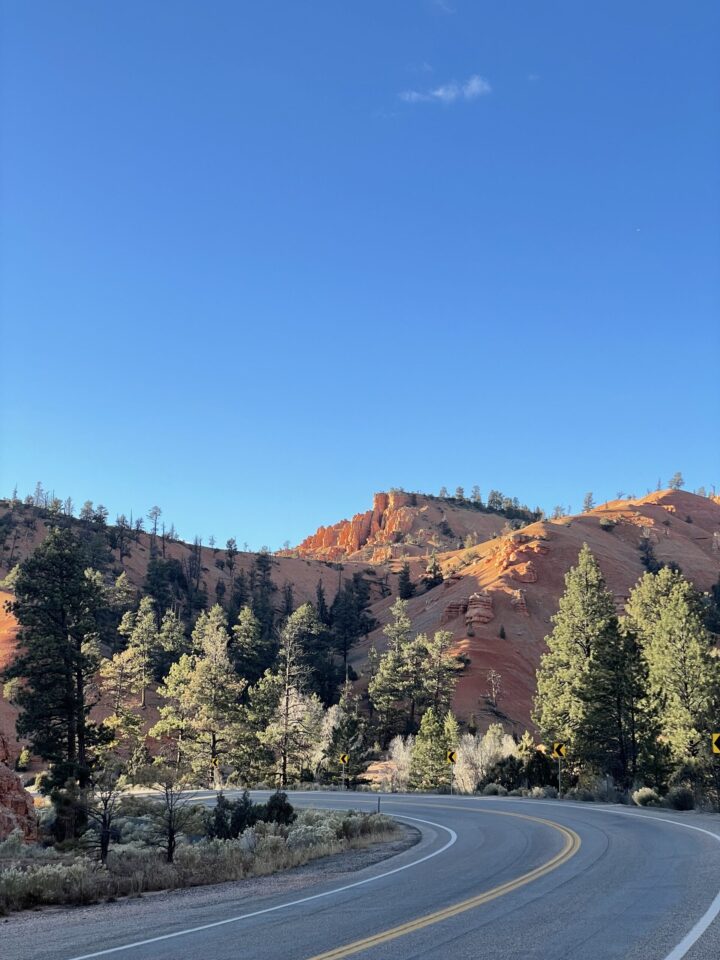
After passing through Bryce Canyon, we continued another 1.5 hours and made it to our final destination for the day – Zion National Park. We got there at night but our site was lovely with power hook-ups and a firepit. We stayed at Watchman Campground inside the park.
DAY 6 – Zion National Park
- Canyon Overlook Trail
- Pine Creek Waterfall
- Scenic Drive
- Angel’s Landing
Rise and shine! We woke up nice and early to catch the sunset of one of the mountains in Zion. Everyone seems to wake up really early in Zion to start their hikes when it is cooler outside, so I suggest getting up with the sun too. We caught the sunrise behind the Museum, which required no hiking.
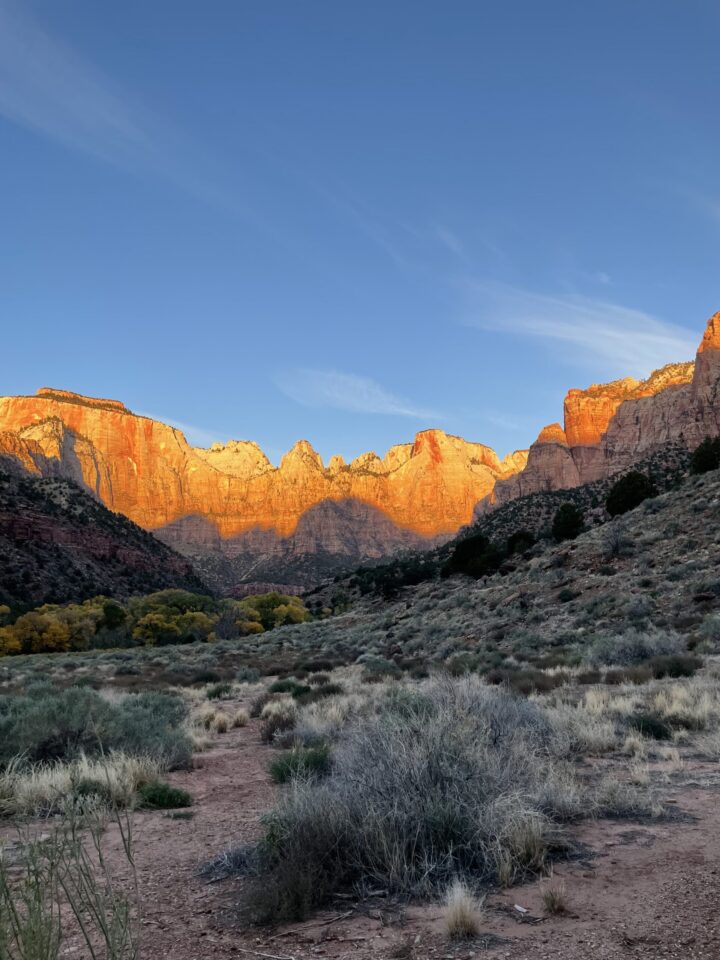
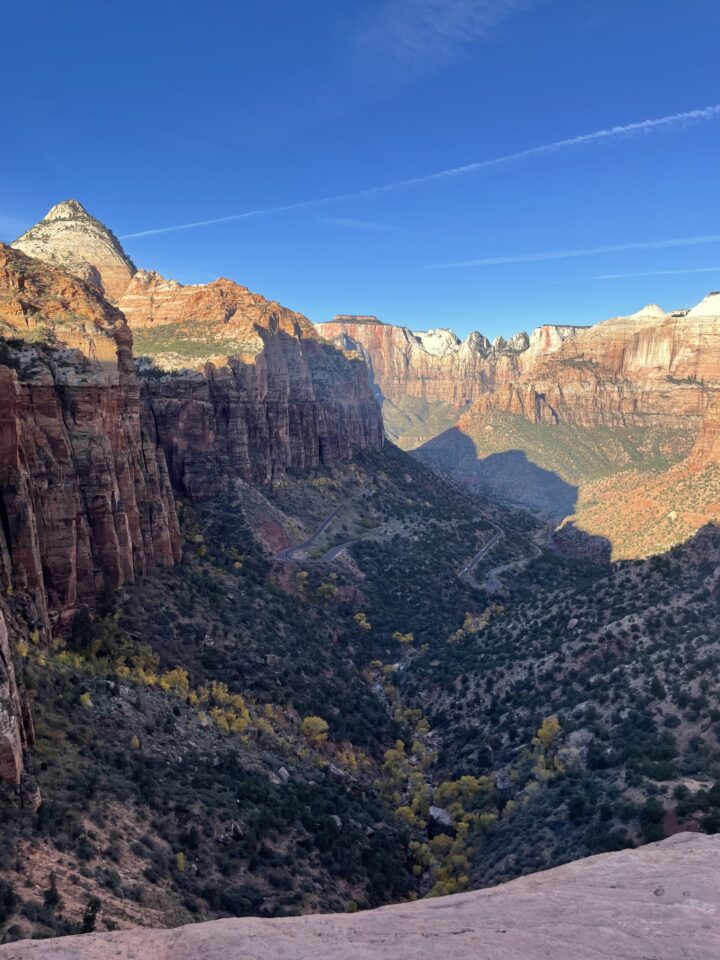
After the sunrise, we started our first hike. We hiked the Canyon Overlook Trail and it was seriously stunning. The hike is about 2km in length and is relatively easy. However, I will say that there are some parts that are a little scary for those who are scared of heights, ie. me. The view overlooking the canyon is really like no other.
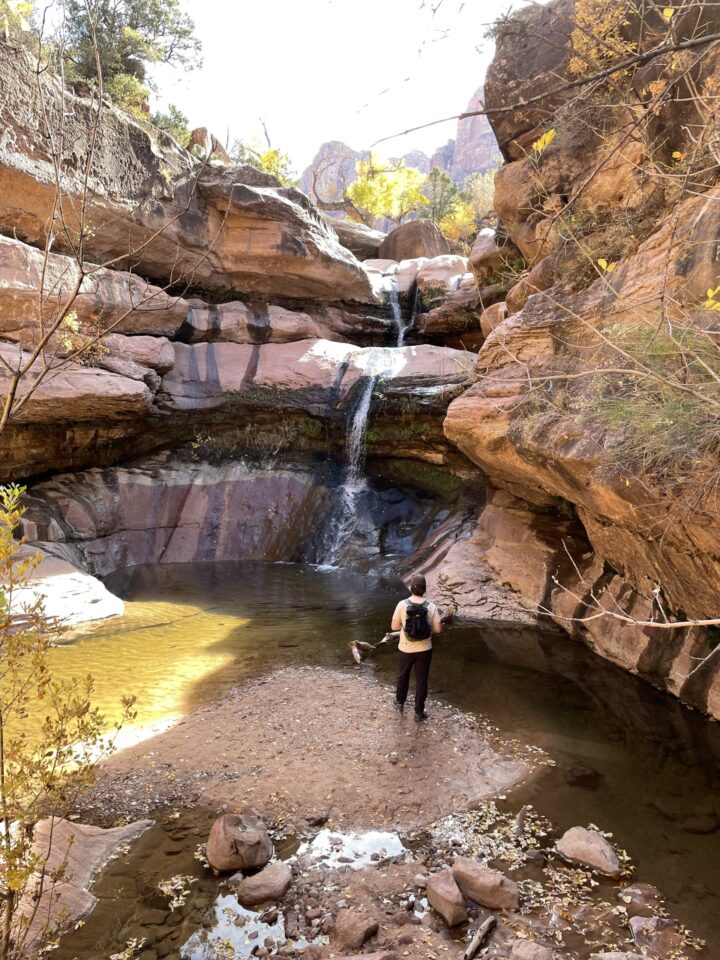
After that hike, we did another hike to see the Pine Creek Waterfall. This hike was very flat but became challenging towards the end because you have to crawl over boulders and jump across the creek… that was a sight lol. I feel like the waterfall would be a lot cooler in the summer because you could totally swim in the creek to cool off.
Then, we decided to do the most iconic hike in Zion which is called Angel’s Landing. We had no idea what we were in for. We knew that it was very high up and quite challenging, but we didn’t really know what to expect. Not only is it over 7km in length, but it’s straight up the mountain. We were huffing and puffing all the way. When you’re hiking, you get to a flat area that you think is the top… but nope. Another half hour straight up, but this time with chains to hold onto the and width of the ground goes down to about 2 feet. As someone who is terrified of heights (ME), I don’t recommend this hike. For sure the craziest and scariest thing I’ve ever done, but the view from the top was WILD. It’s one of those hikes that I’m happy I did, but I will NEVER do it again.
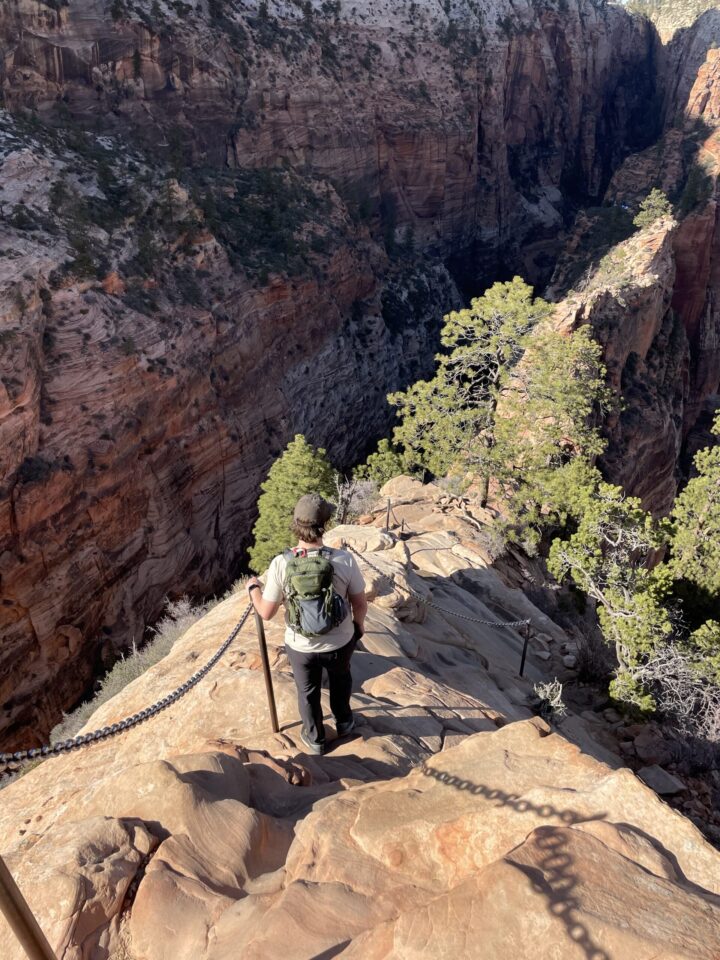
Once we hiked back down and I kissed the ground, we made our way back to our campsite and basically went to bed immediately. The combination of exhaustion and adrenaline-overload made us quite tired.
DAY 7 – Zion National Park > Page
- The Narrows Hike
- Zion > Page
- Old Navajo Bridge
- Lake Powell
We’re crazy… because we woke up and decided to do yet another hike. But hey, we’re only there once so we had to YOLO it up. The Narrows is another must-do in Zion. It’s a hike that you walk through a river through a canyon. Sound crazy? It is. The hike itself can take up to 8 hours, but we only hiked until we got to what they call, “Wall Street”. This section of the hike is the most narrow part of the canyon and is one of the most beautiful things I’ve ever seen. It took us just over 2 hours to get to that point of the hike, and then we turned around and went back. Since we went in November, we wore the full waterproof getup – water pants, neoprene socks, and waterproof hiking boots.
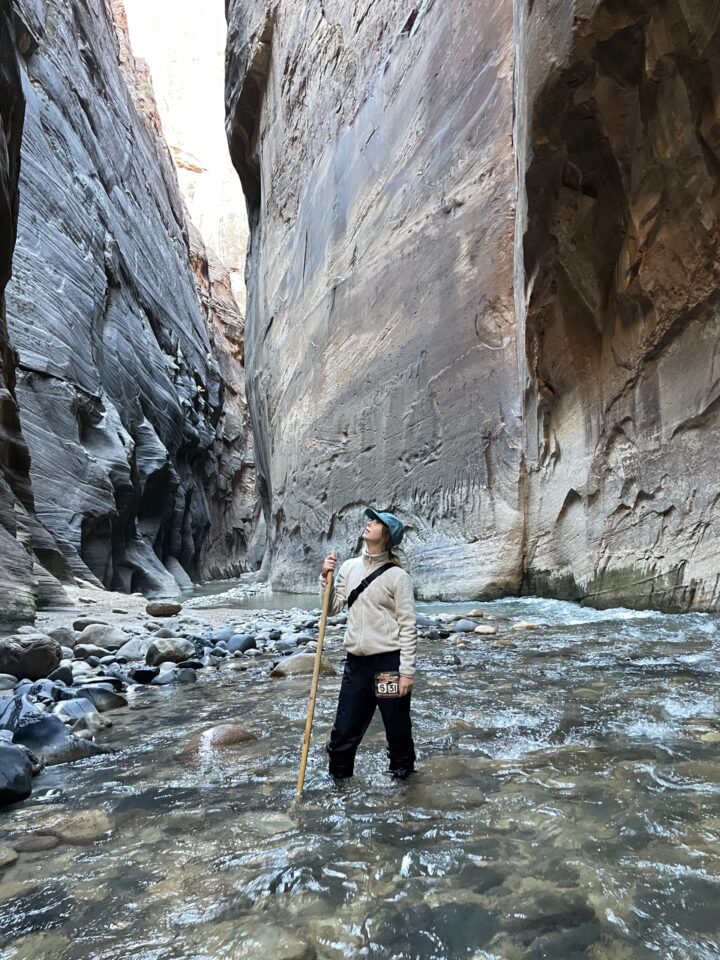
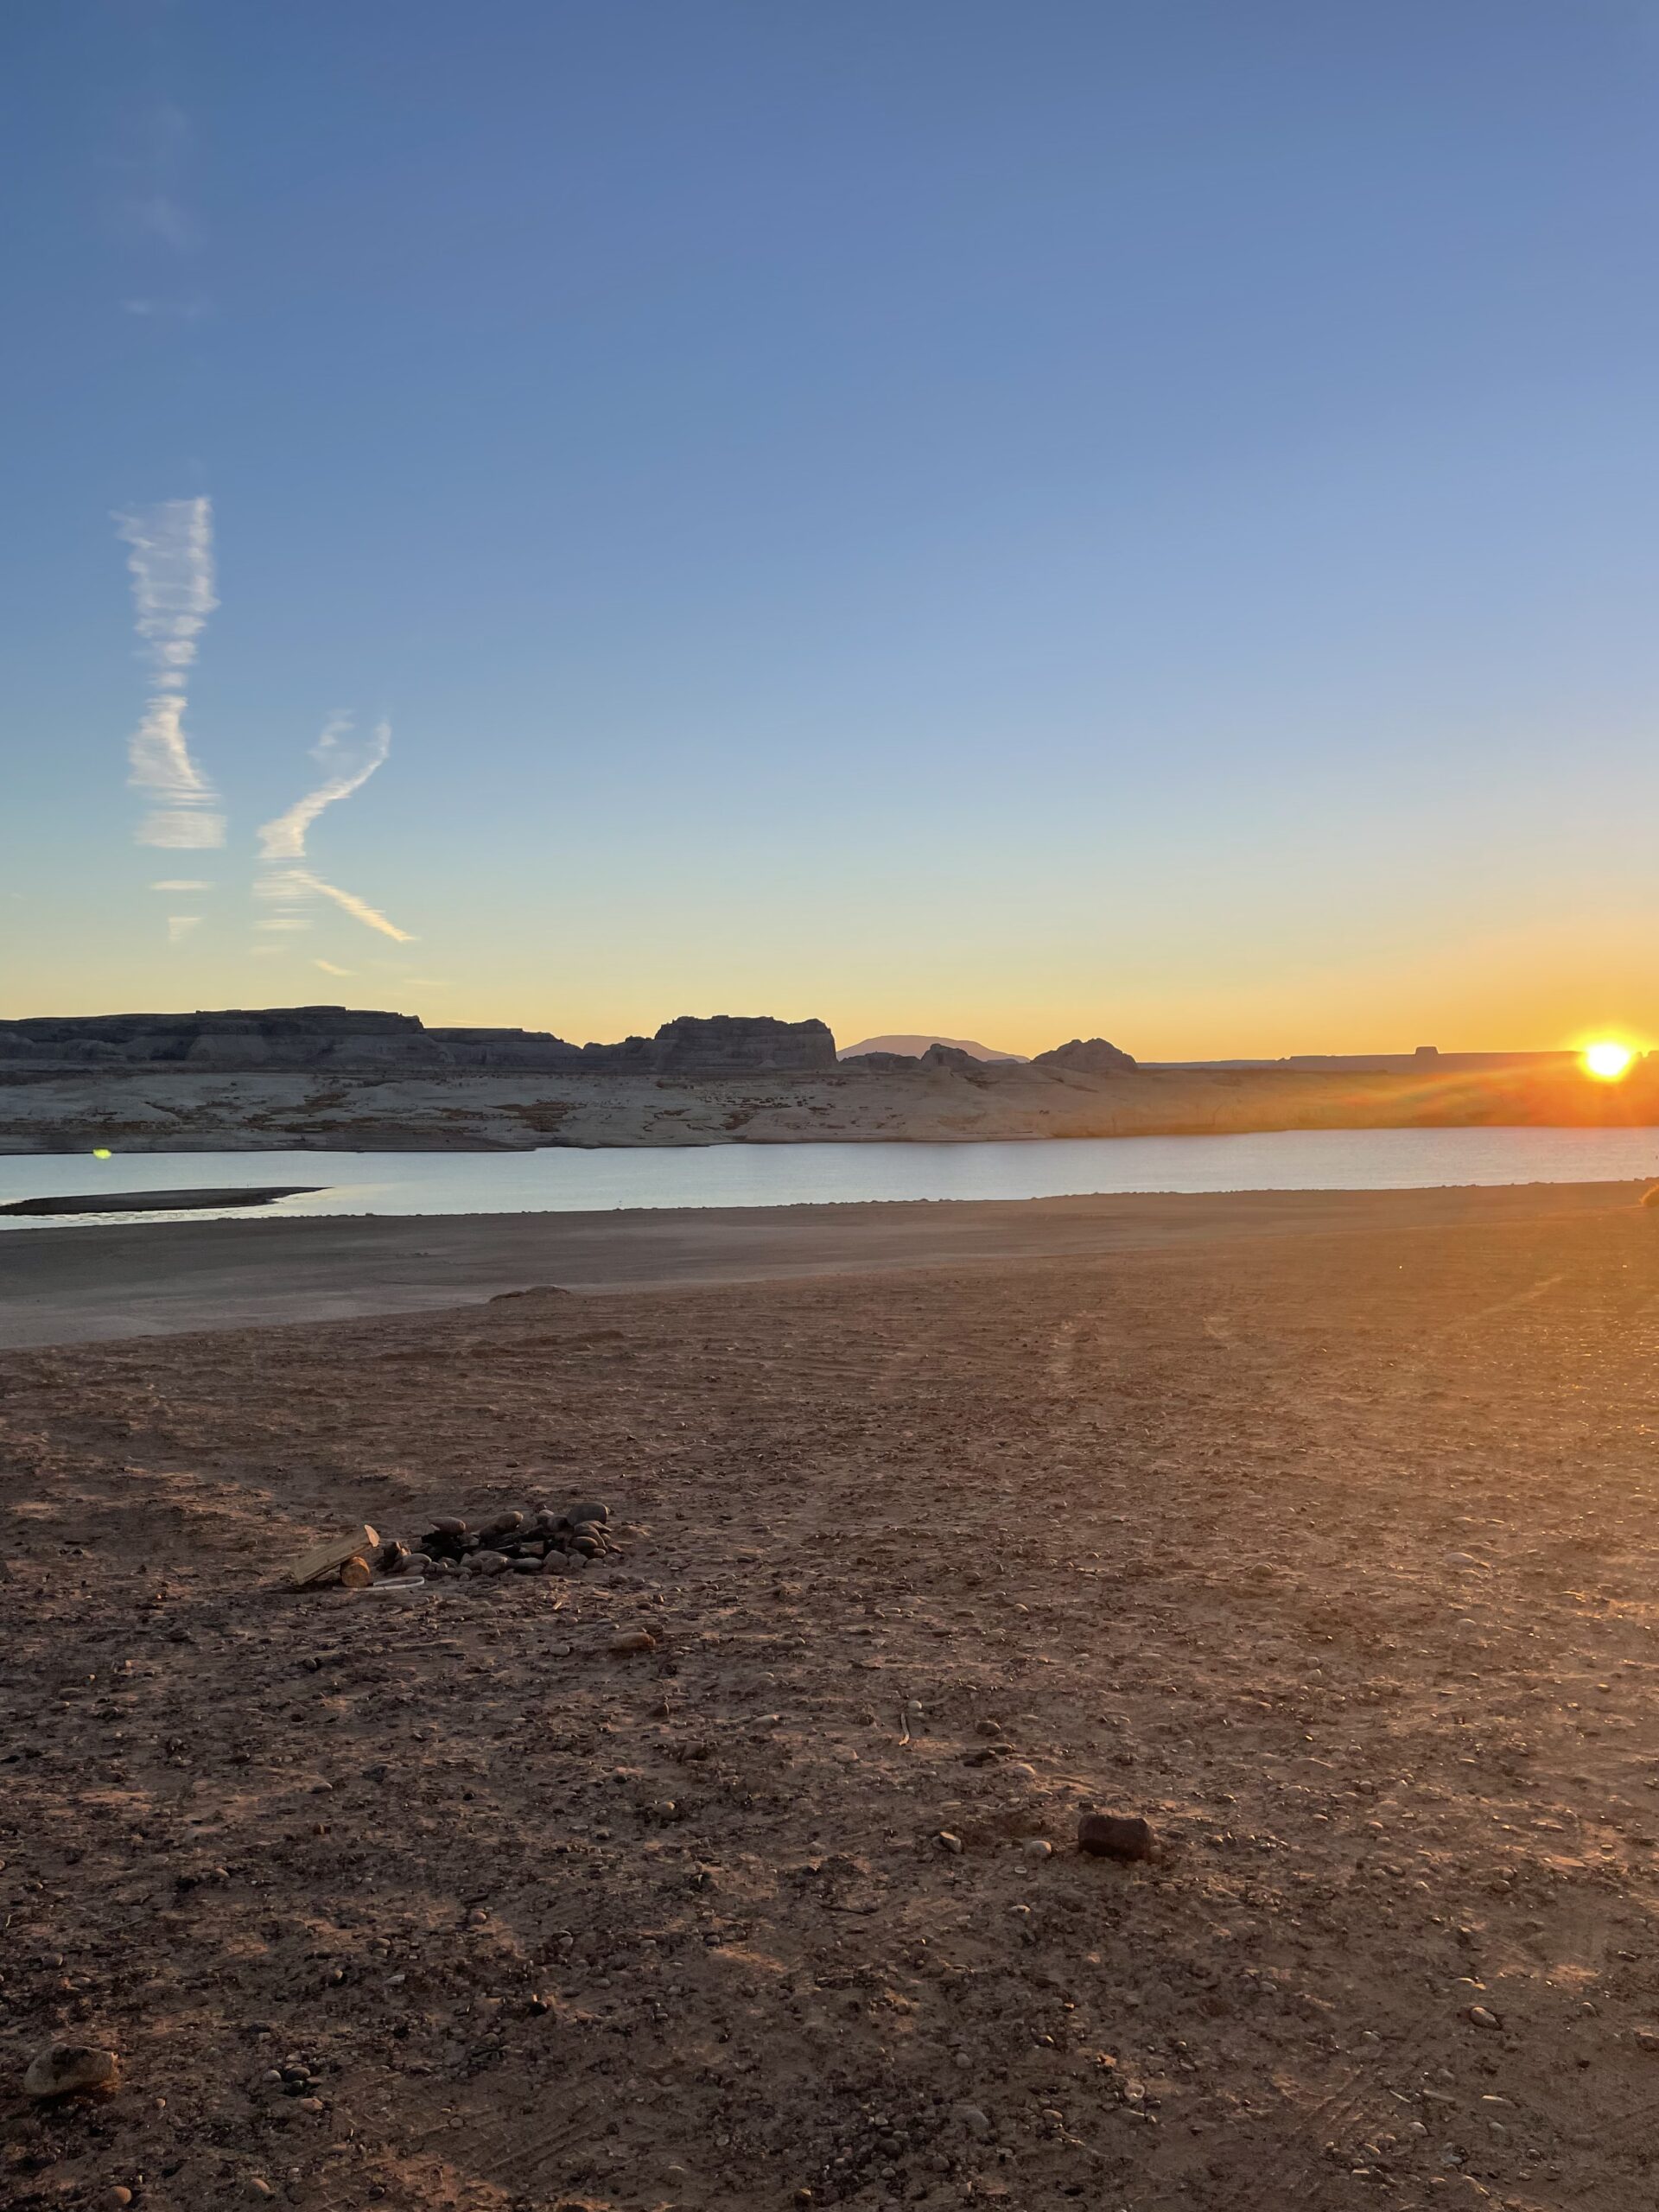
We finished the hike around lunch time and then jumped in the car and drove 4 hours to Page. This is where we crossed back over into Arizona! We arrived at our campsite on the beach of Lake Powell just as the sun was setting so we took it easy, made dinner, and went to bed.
DAY 8 – Page > Grand Canyon National Park
- Lake Powell
- Lower Antelope Canyon
- Horseshoe Bend
- Page > Grand Canyon
- Cameron Trading Post
- Desert View Point at Grand Canyon
- Mather Point at Grand Canyon
We watched the sunrise from our campsite on the beach at Lake Powell. It was so beautiful. Then we drove down the road a little bit to an overlook point of Lake Powell. Unfortunately the water levels of Lake Powell are so far down that there is not nearly as much water as there once was.
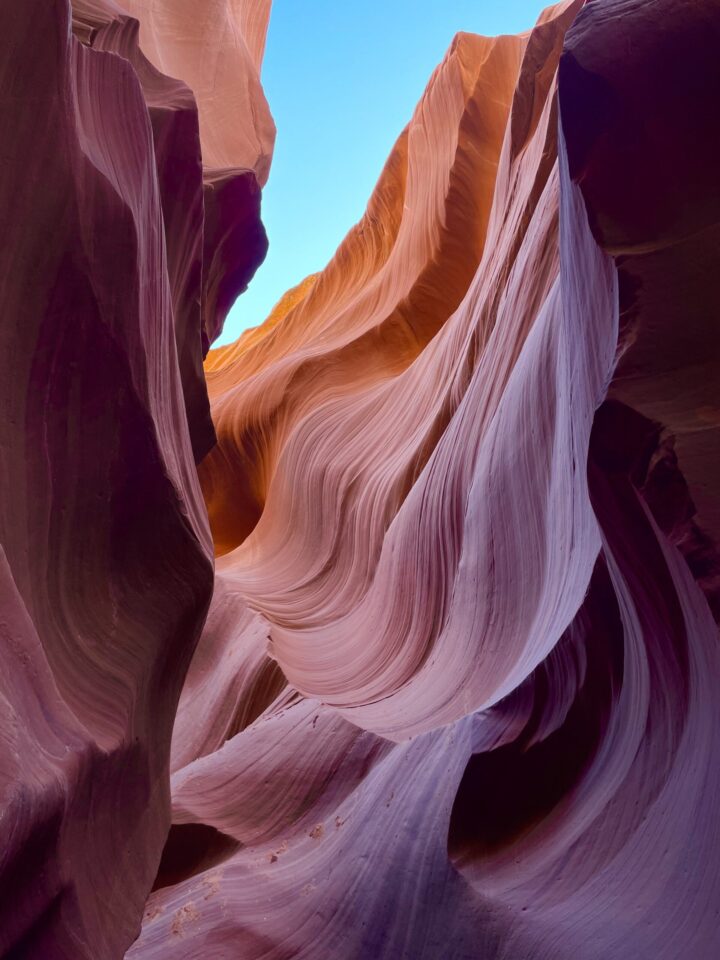
It was then time for one of the sites I was most looking forward to seeing on the trip – Lower Antelope Canyon. This is the canyon where Microsoft Windows took their photos for the classic screensaver. I was in absolute awe of this place. The canyon is super narrow and the red/orange tones in contrast with the blue sky is something I’ll never forget. Since this canyon is on native land, you can only see it if you book a tour. We did our tour with Dixie Ellis and they were fantastic! Super informative and willing to take however many pics you want. Not much more you can ask for!
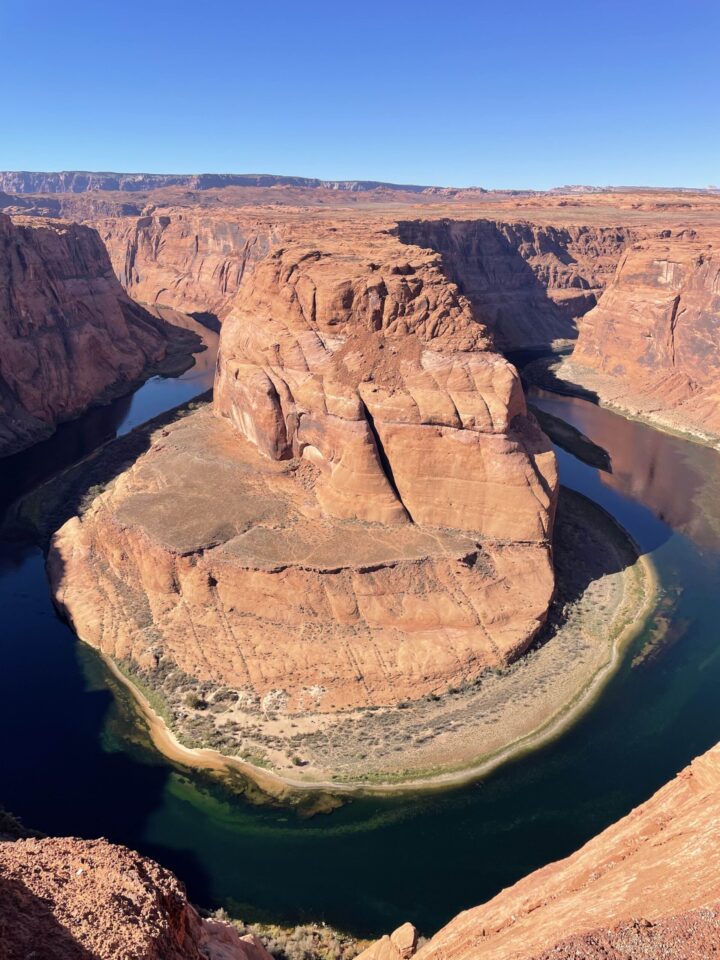
After the tour, we went to check out the Horseshoe Bend. This overlook is iconic to the Page area. It cost $10 to do the hike but it was totally worth it. I have heard that this hike is best at sunset, but we went around 2:00PM and it was still beautiful. It’s very hard to find a bad angle of this place.
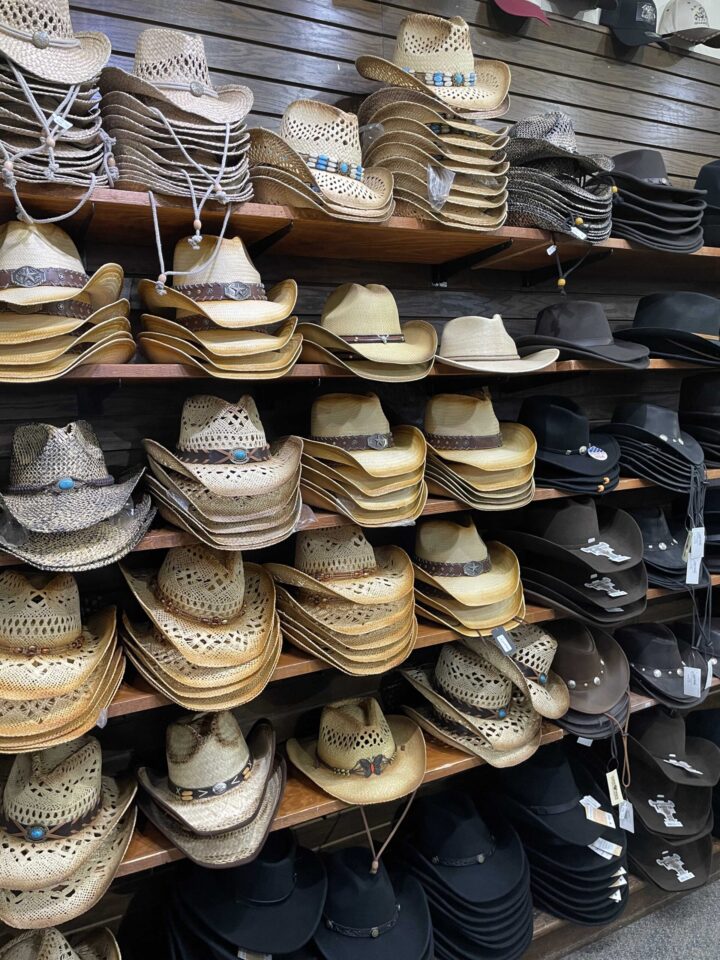
After Horseshoe Bend, it was time to hit the road again. We had a 4 hour drive ahead of us to Grand Canyon National Park – YAY! One stop I highly recommend on the way to the Grand Canyon is Cameron Trading Post. This is a very popular stop along the way and is great if you’re looking for a gift or a souvenir. The store there is HUGE and full of trinkets that are unique to Arizona and their culture. We didn’t eat there, but I heard that lunch at the restaurant there is amazing as well.
Just before sunset, we made it to Grand Canyon National Park! My whole life I have been envisioning what the Grand Canyon would look like when I finally got to see it in real life… and let me tell you, it’s better than whatever you’re imagining. My bf and I parked the car at Mather Point, grabbed a drink, and watched the sunset over the canyon. We couldn’t stop staring at it. It’s just so big that you can’t wrap your head around it. One of my favourite moments from the trip for sure.
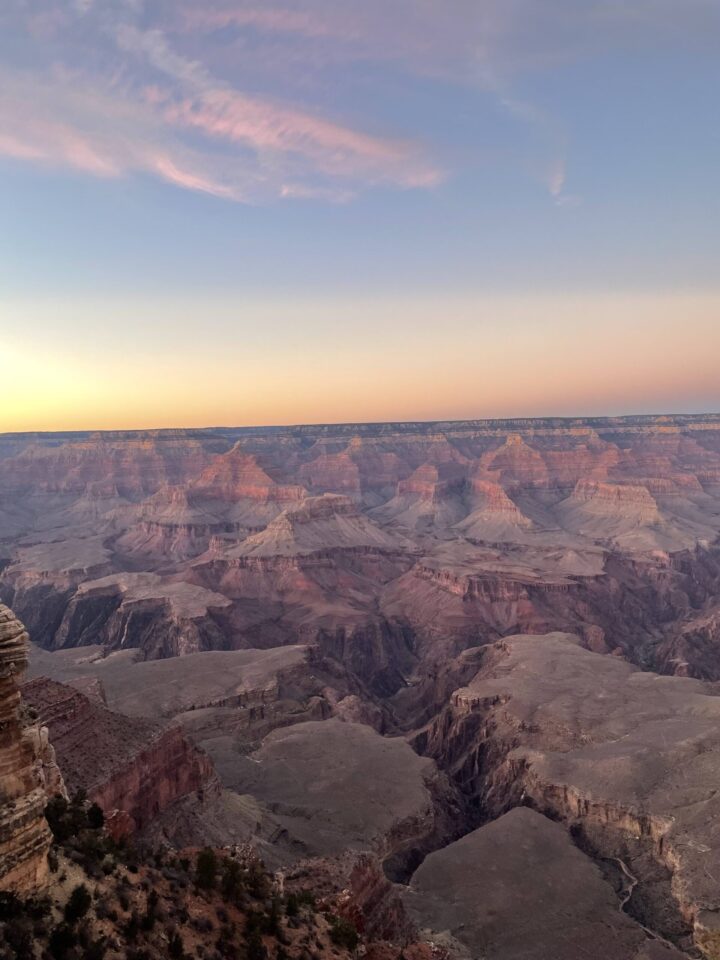
Once the sun had set, we made our way to our campsite which wasn’t too far from Mather Point. We stayed at Mather Campground, which was a nice clean site and excellent washroom facilities.
DAY 9 – Grand Canyon National Park > Scottsdale
- Grand Canyon Village
- Grand View Point
- Moran Point
- Grand Canyon > Scottsdale
- Oldtown Scottsdale
Our last full day 😢. In the morning, we went into the Grand Canyon Village where you can grab something to eat, there’s coffee shops, and gift shops. There is also a shuttle service that runs through the park if you would rather park your car somewhere and explore that way. The shuttle will take you to the village as well.
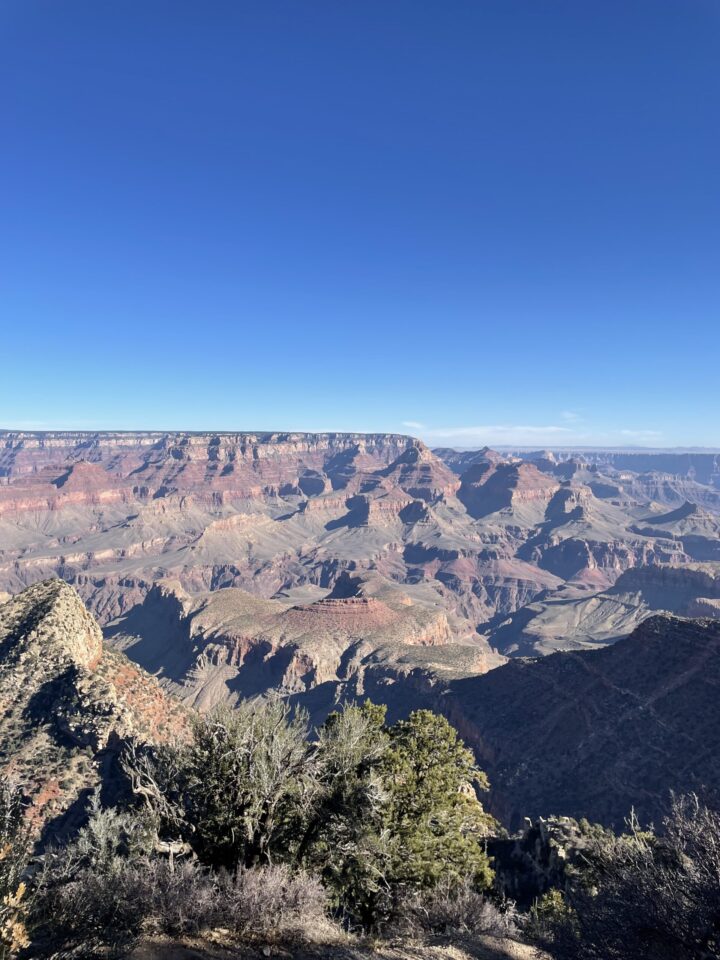
We hit up a couple more viewpoints of the Grand Canyon before we left the park. Grand View Point was in fact GRAND, same with Moran Point. Similar to Antelope Canyon, there is no bad angle of the Grand Canyon. It’s just soooo cool. If it’s not on your bucket-list, add it.
On the road again! We had yet another 4 hour drive to Scottsdale. We were so excited to switch up the scene and experience a city for the night. I absolutely adored Scottsdale…. The overall vibe of the city is so cool, especially Oldtown. It almost feels like you’ve gone back in time because all of the shops look like they are from an old western movie and there are twinkle lights strung above all of the streets. It was so cool.
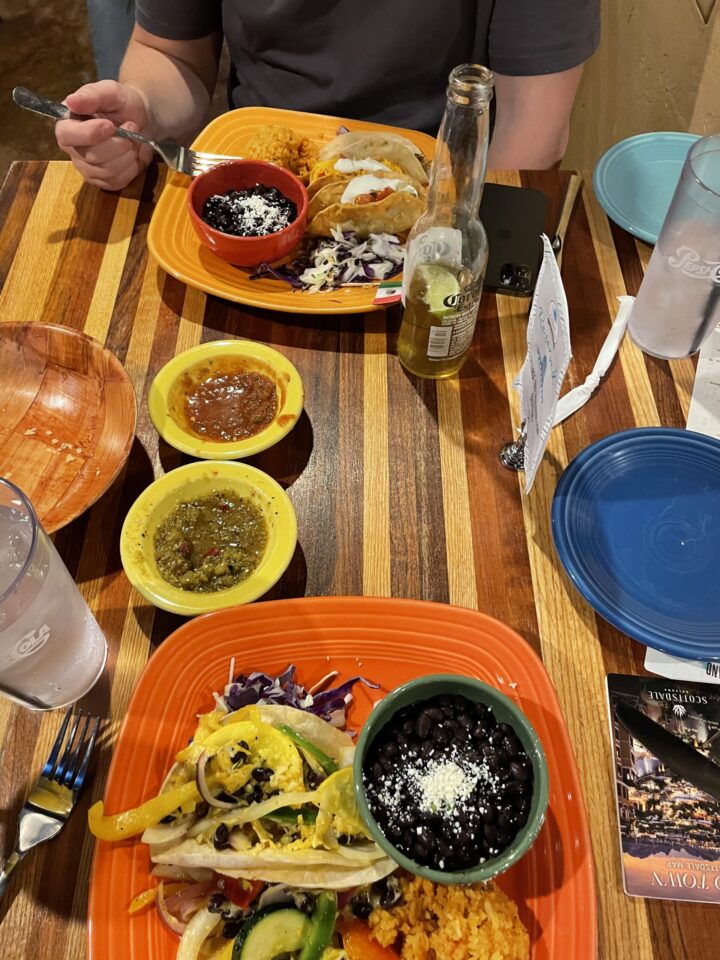
We treated ourselves and got another hotel for this night. Again, nothing fancy, but we stayed at the Comfort Suites Old Town which was a stone throw away from the hot spots. We also treated ourselves to a lovely dinner at Cien Agaves Tequila & Tacos. And we had exactly that… tequila & tacos. It was delish!
DAY 10 – PHX > YYZ
Sad, sad day. We dropped the van back off, called an Uber, and made our way to the airport. All around, this time was absolutely amazing and the views and hikes were incredible. I recommend Arizona & Utah to anyone that is willing to travel to the US!
WHAT TO PACK (FOR OCT-NOV):
I found this trip extremely hard to pack for just because the weather varies SO much in just one day. Because these states are in the desert, you’re dealing with a very dry heat. It was hot in the day, but really chilly at night. I recommend layering up so you can slowly strip it down throughout the day. This is what I suggest…
- Tons of leggings (I had a pair for everyday)
- T-shirts
- Long sleeves
- Hoodies
- Zip-up sweaters
- Rain jacket (just incase)
- Thin puffer jacket
- Sports bras
- Baseball caps
- Wide Brim Hat (to fit the vibes)
- Running shoes
- Hiking shoes
- Blundstones
- Toque (for nighttime)
- An outfit for in the city – I wore a dress
- Cowboy boots (also to fit the vibes)
- Lots of socks
- Gloves (for the mornings)
- Pair of jeans
- Biker shorts